Using the multi-device dashboard
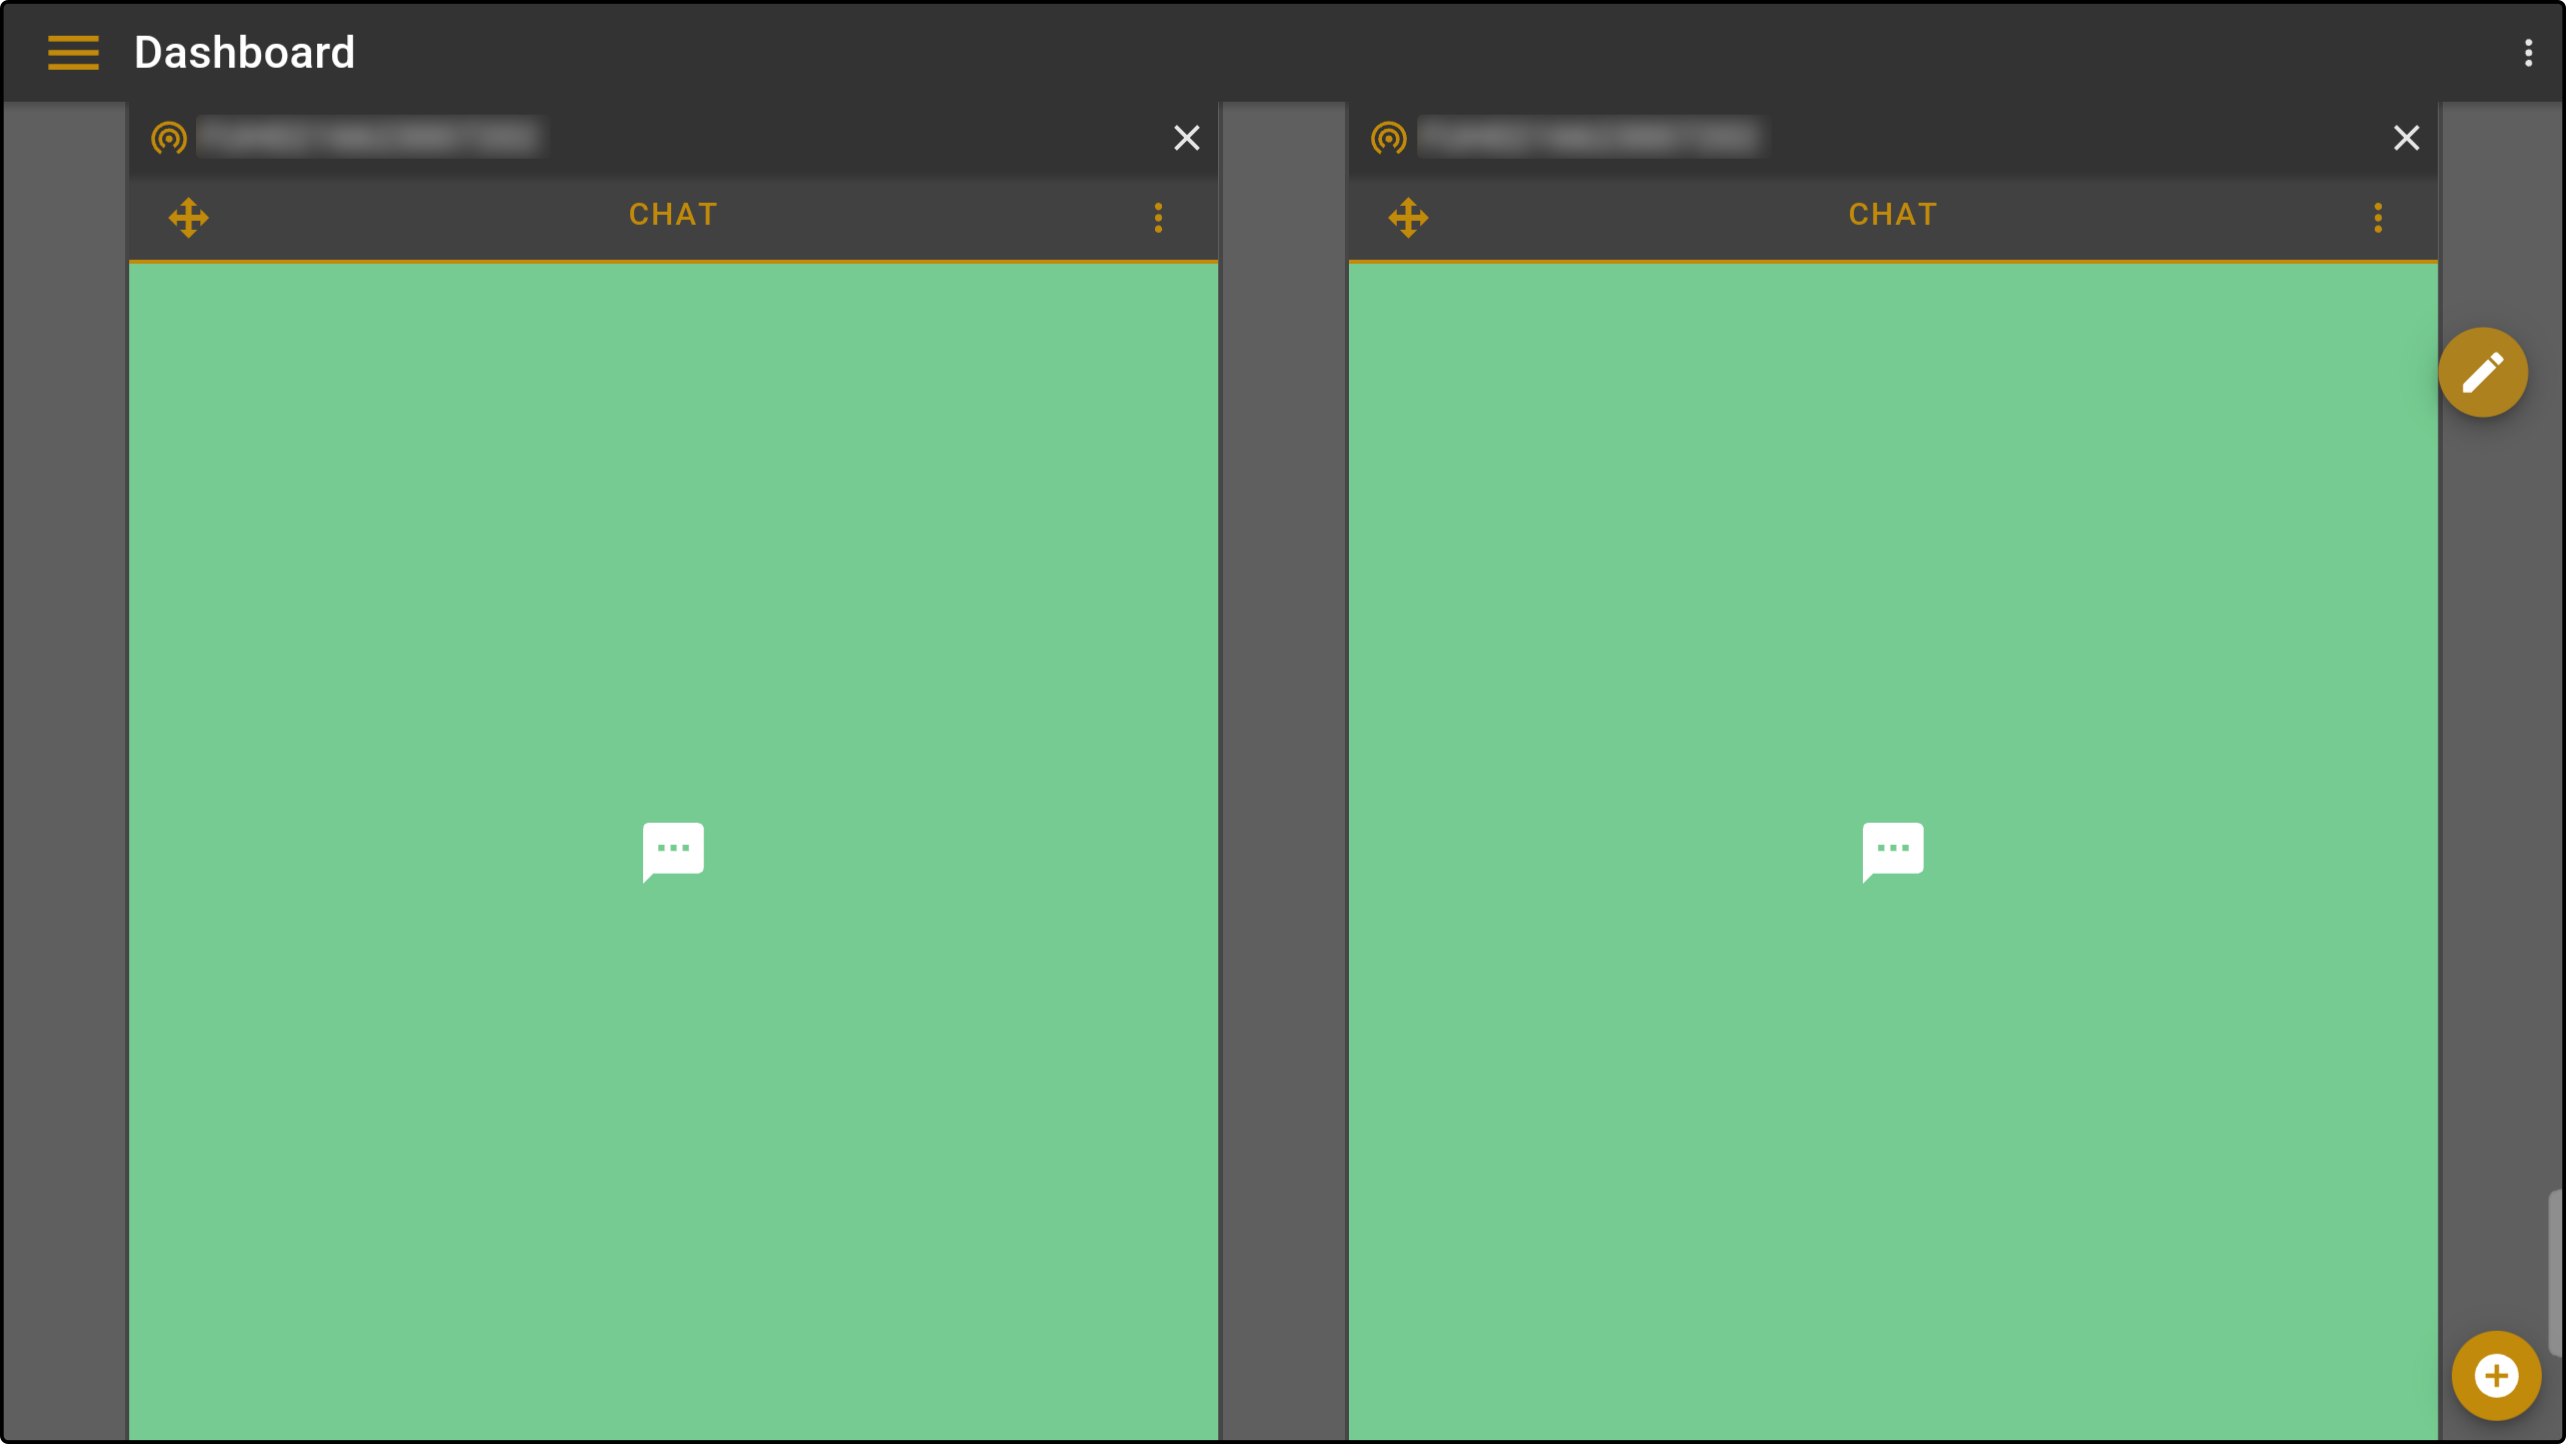
Like the dashboard editor, the multi-device dashboard can also be edited. The widgets can be organized into a list of (at most) 5 columns. The blank column(s) will automatically be hidden if no widget is present. For example:
In the editor:
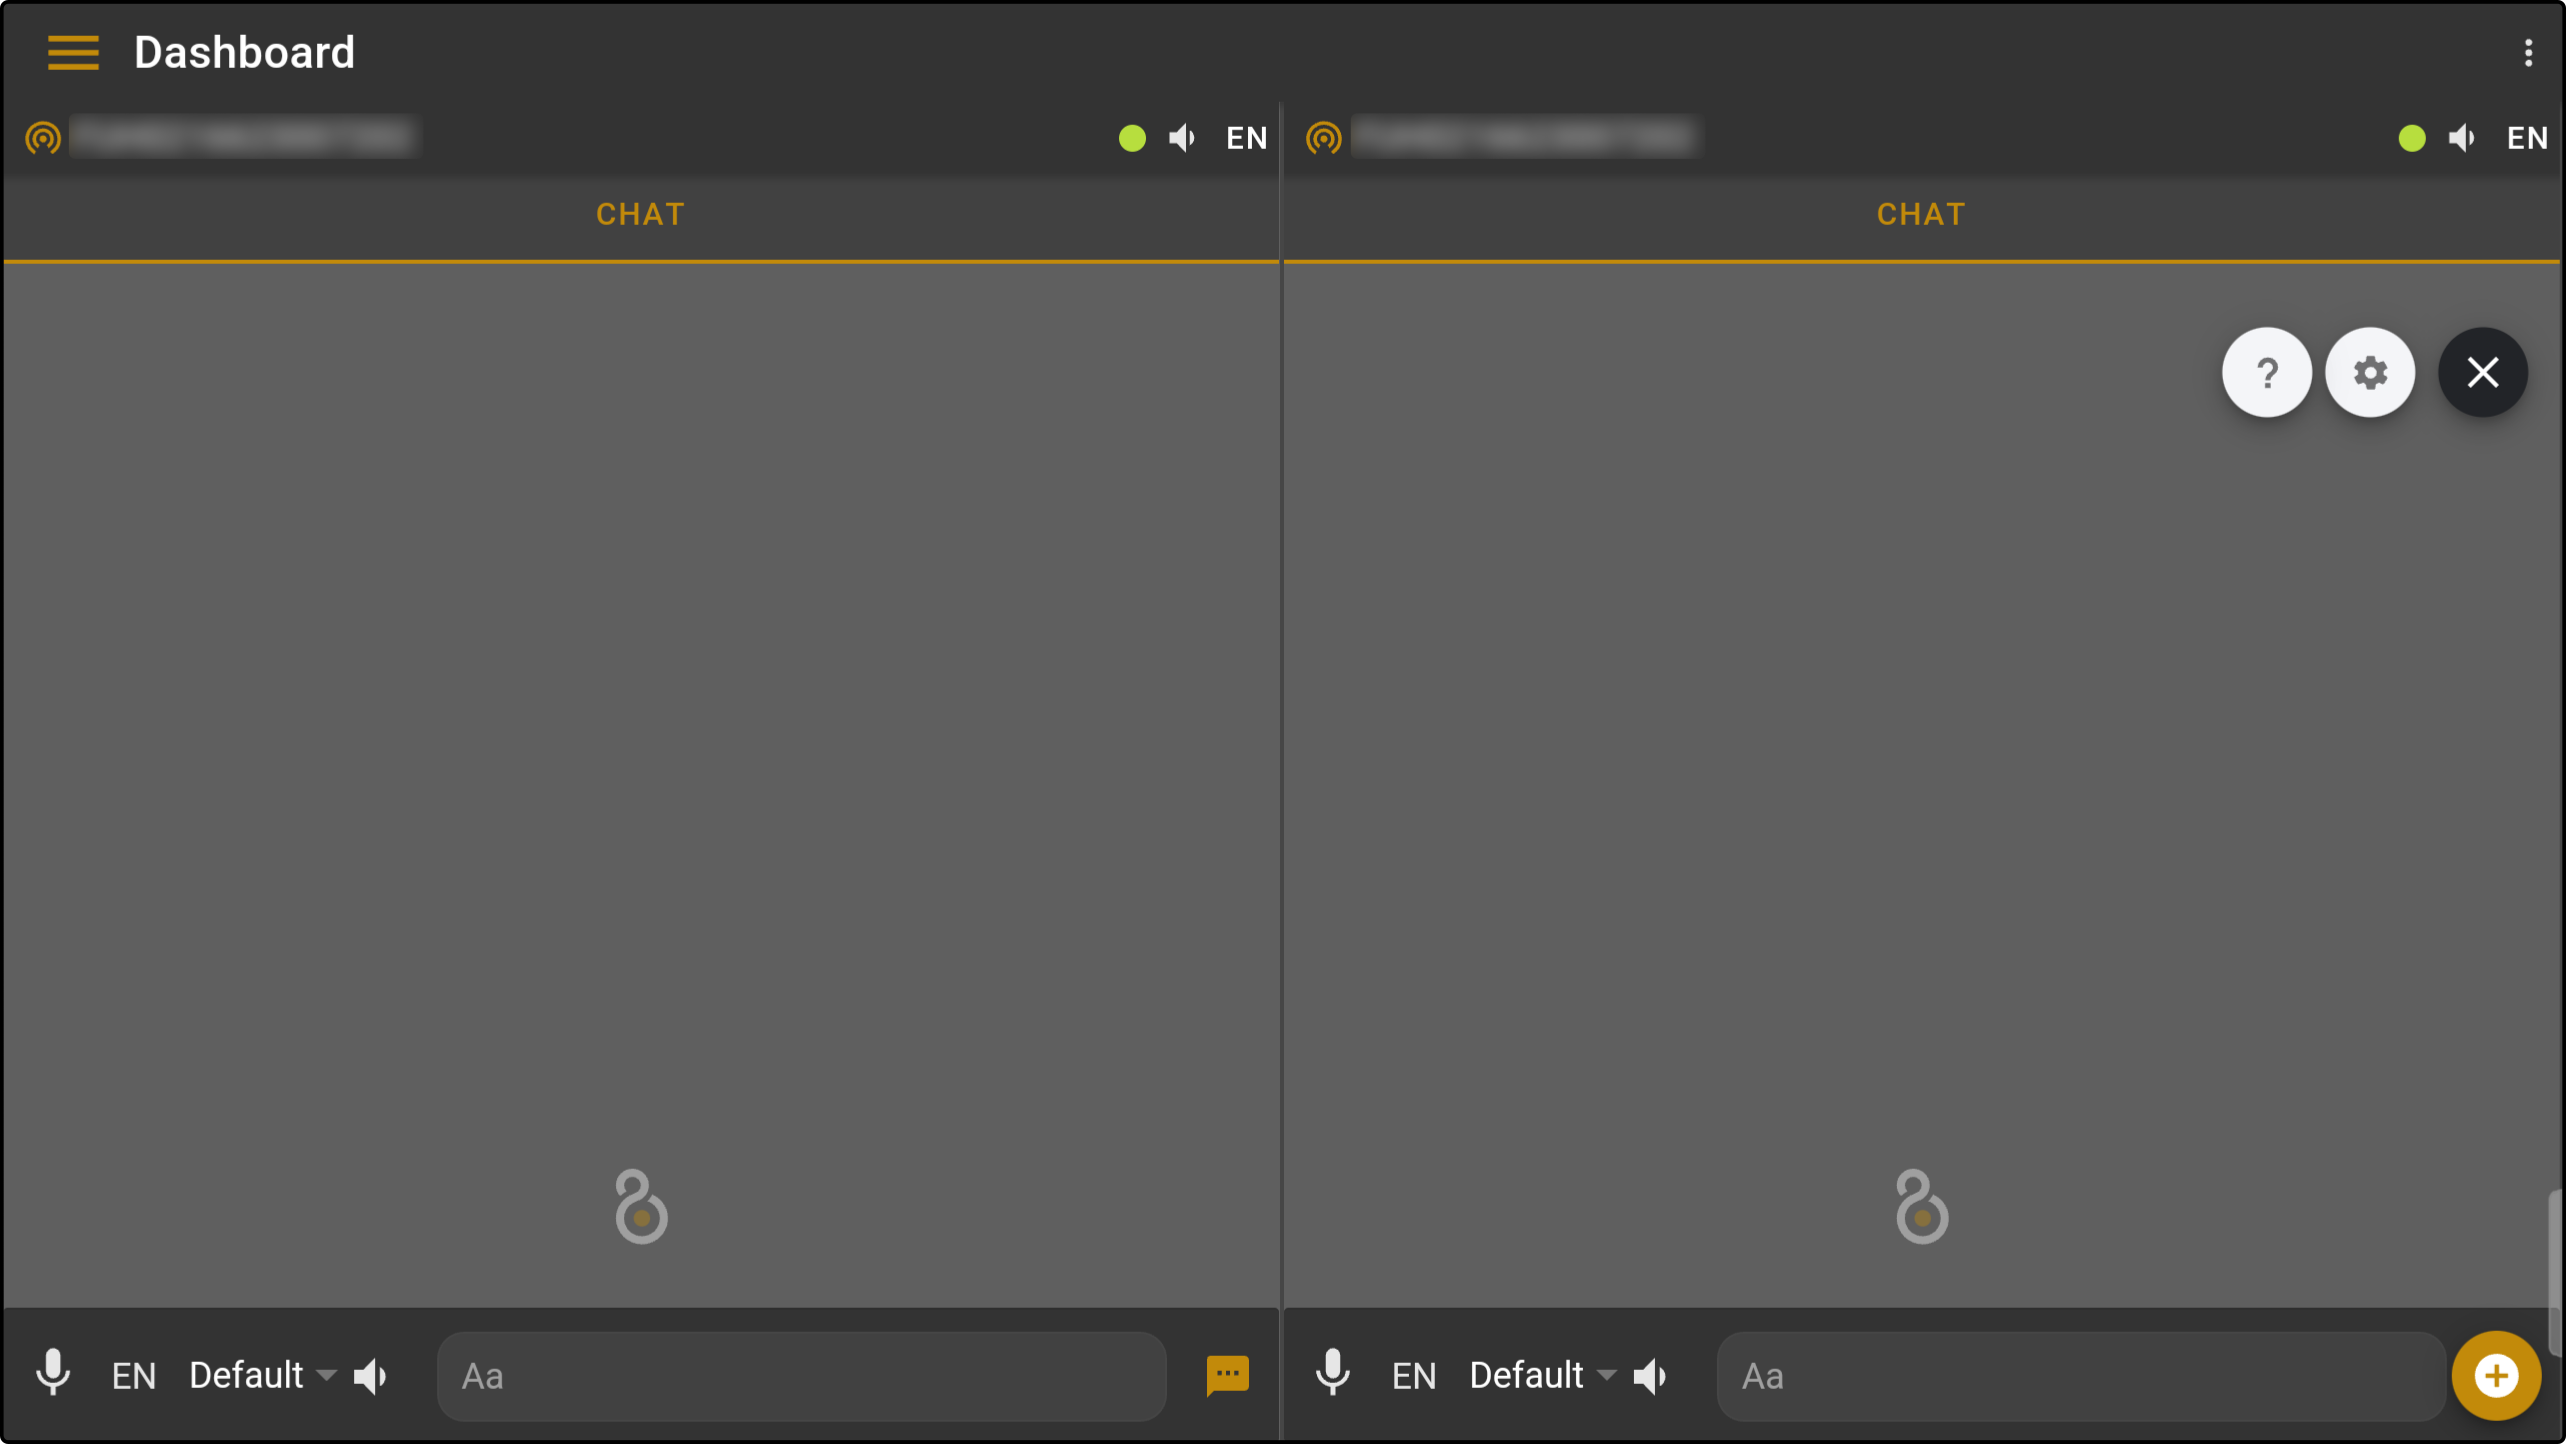
In normal output:
Editing the dashboard
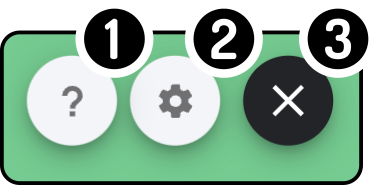
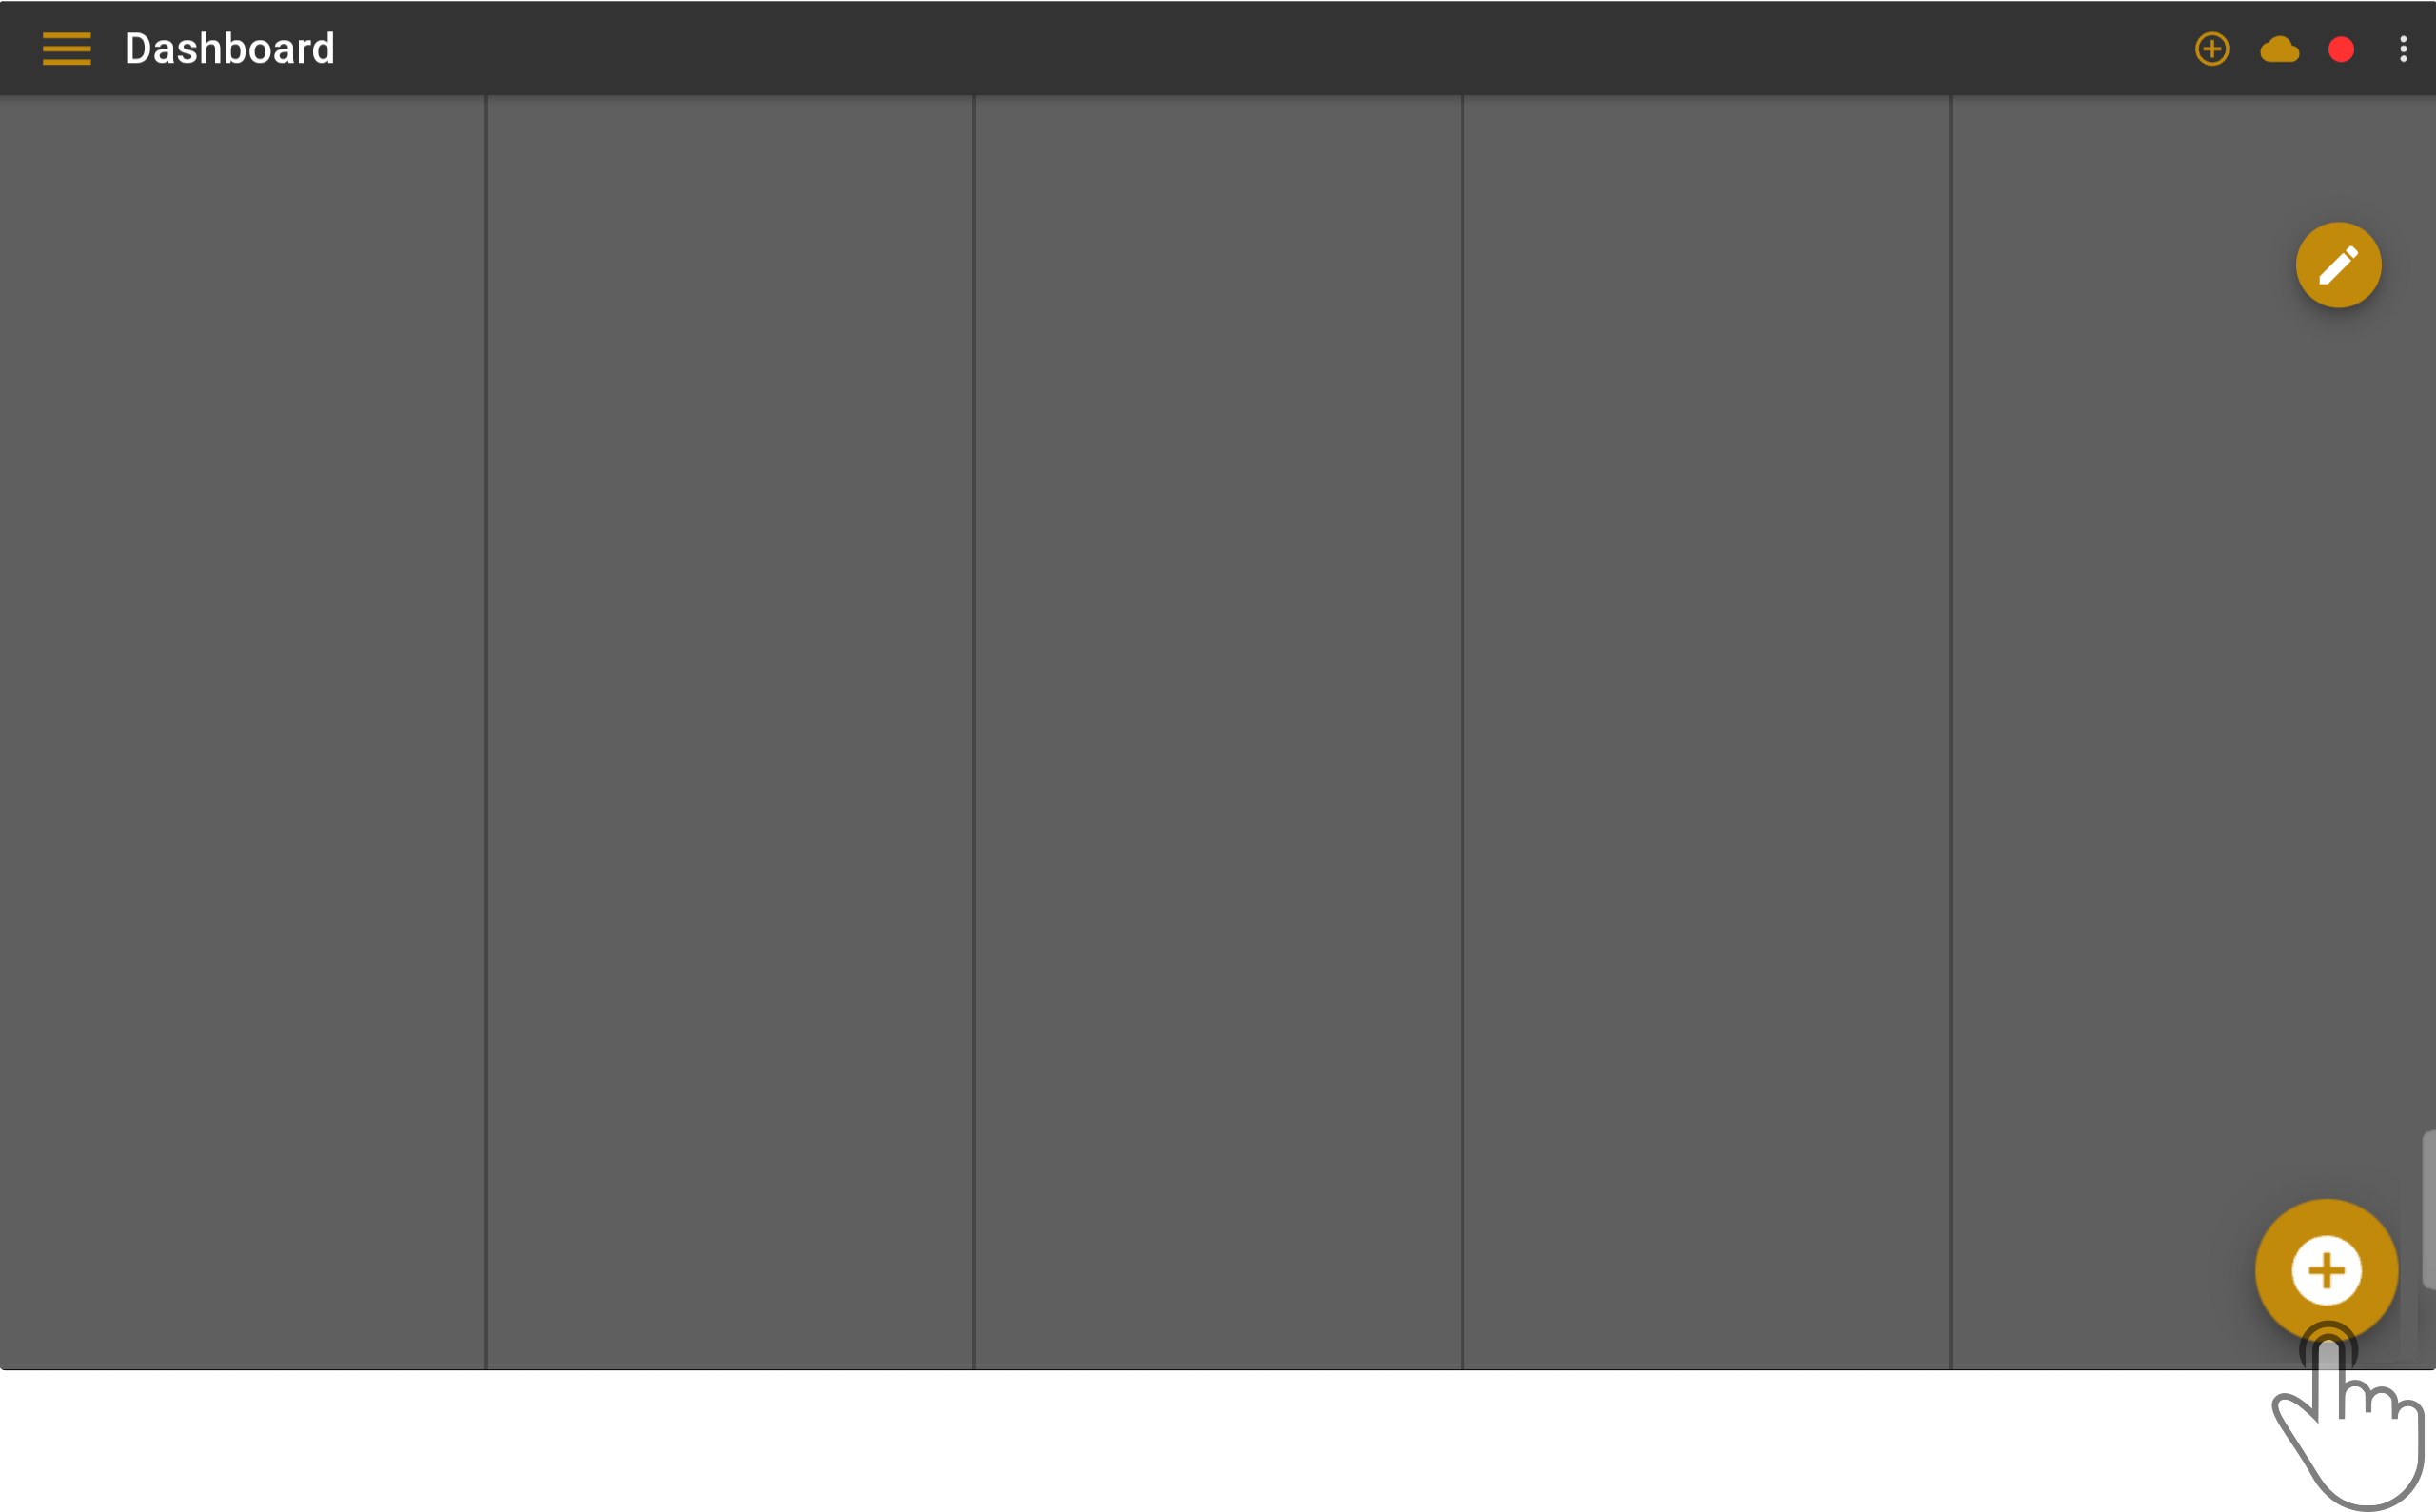
Tap the icon in the top-right corner of the dashboard to edit the dashboard configuration:
| For your convenience, the icon can be dragged around on the dashboard-page in case it overlays the controls of the widgets. |
-
Tap the icon to view some useful information.

-
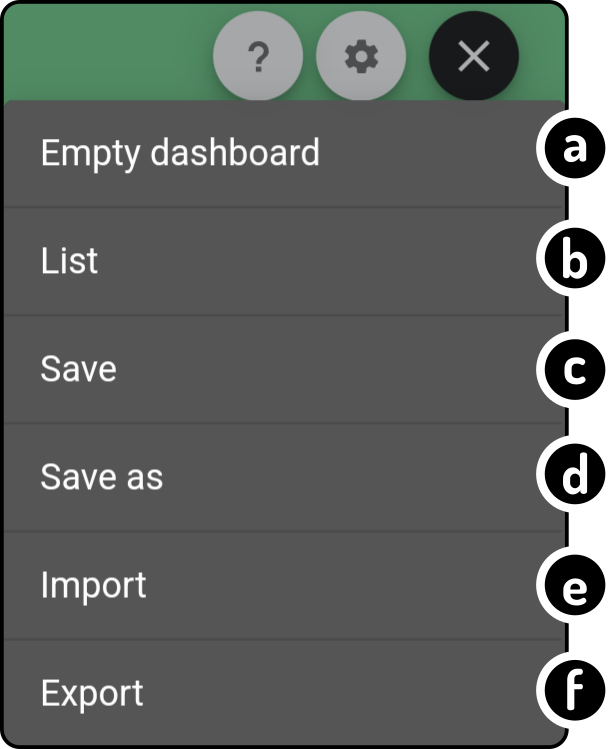
Tap the icon to view the options for management of the dashboard configurations.
-
Tap the option 'Empty dashboard' to remove all the widgets from the dashboard.
-
Tap the option 'List' to view a list of saved dashboard configurations.
-
Tap the option 'Save' to save the current dashboard configuration.
-
Tap the option 'Save as' to save the current dashboard configurations with a new name.
-
Tap the option 'Import' to import (an) exported dashboard configuration(s).
-
Tap the option 'Export' to export a saved dashboard configuration.
For more information on these options, see the chapter Dashboard configurations management.
-
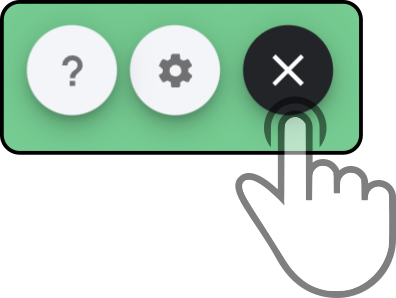
Tap the icon to close the editor.
Adding widgets
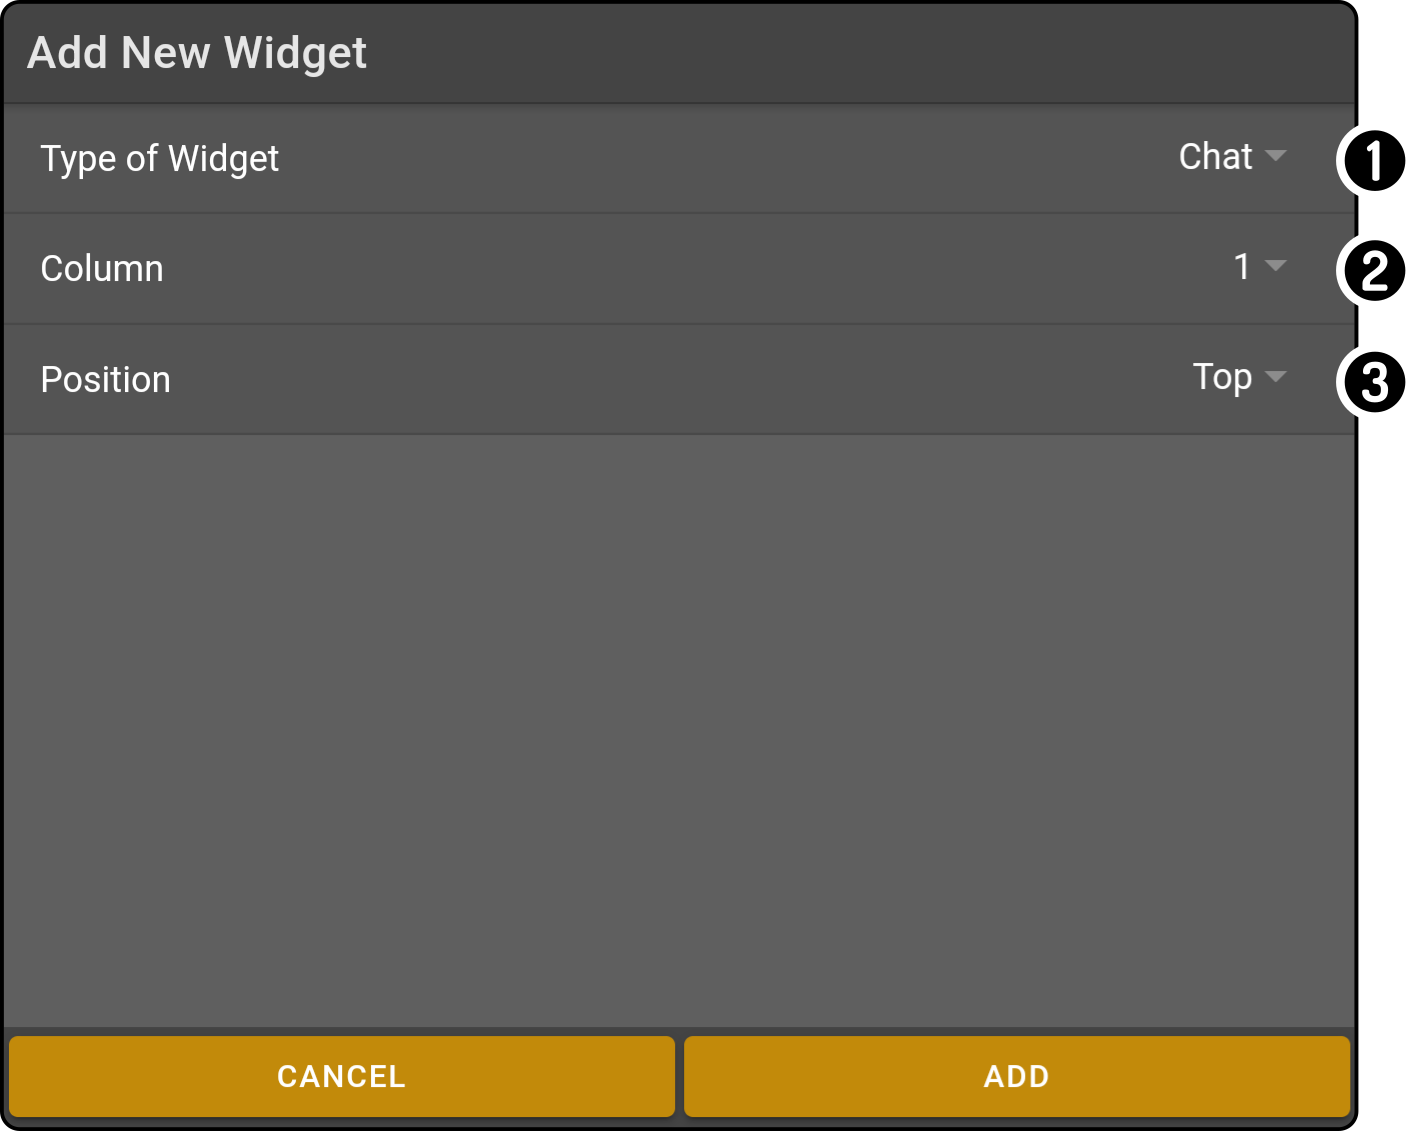
Tap the button in the bottom-right of the multi-device dashboard to add a new widget to the grid.
| For your convenience, the icon can be dragged around on the dashboard-page in case it overlays the controls of the widgets. |
-
Type of widget to add (see Type of multi-device widgets).
-
The column to add the widget to (from 1-5).
-
The relative position of the new widget (top or bottom).
After selecting the type of widget to add, the device for the widget to connect to needs to be selected:
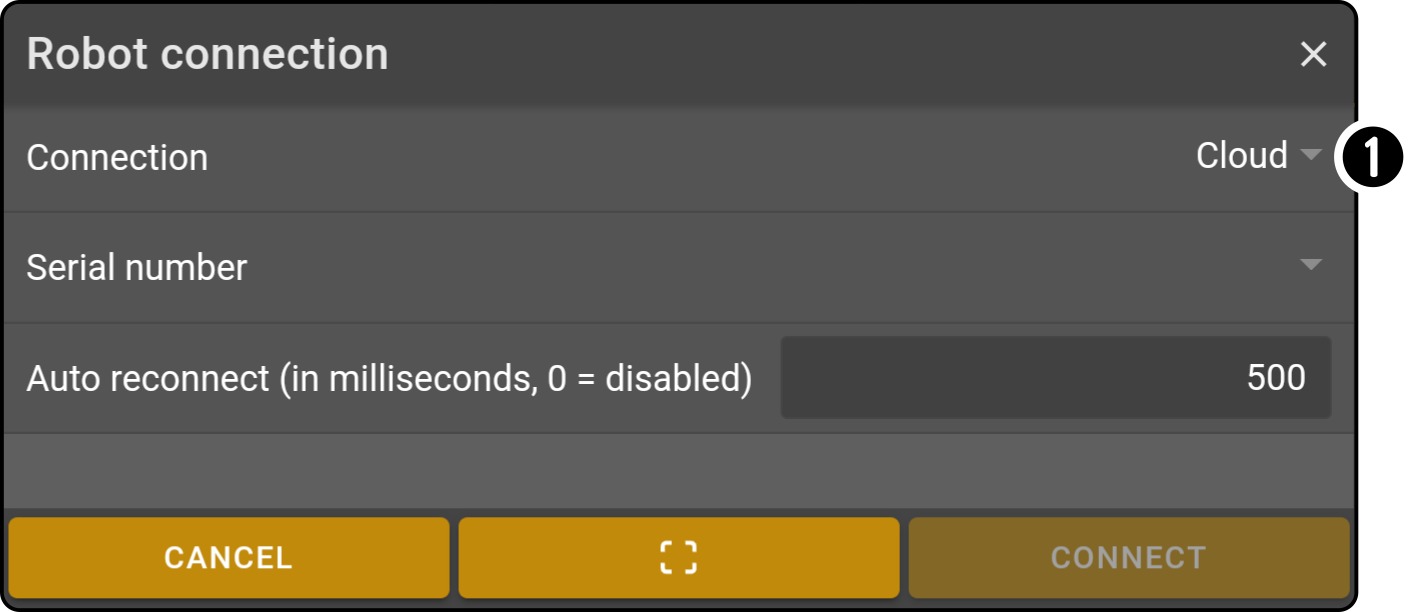
| The option 'Cloud' is selected by default. |
Connect widget using the cloud
After selecting the option 'Cloud' in the 'Connection' setting, the options for the cloud connection can be entered:
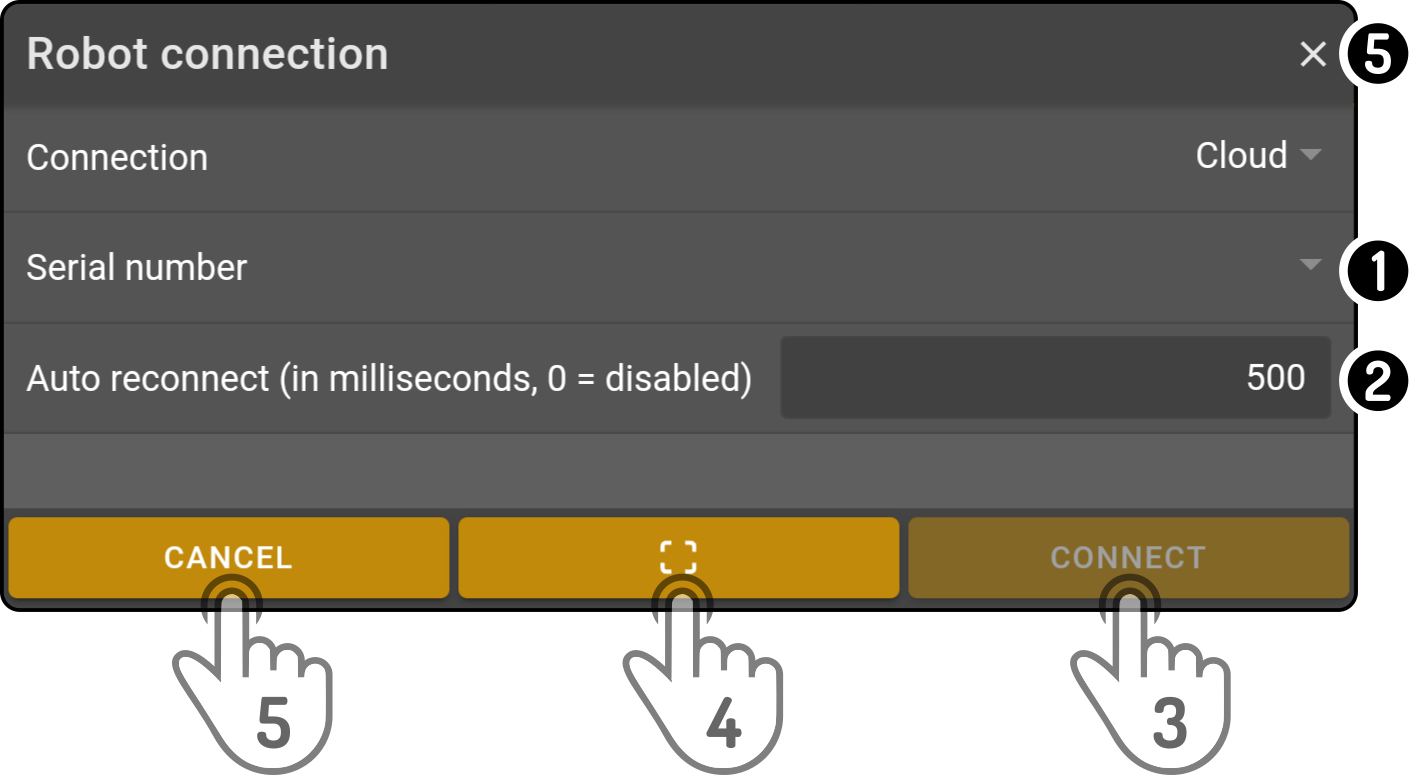
-
Tap the option 'Serial number' to view a list of devices registered to the user. Select a device from the list to select it.
-
Set a timeout for the connection to close after the connection is closed (optional).
-
Tap the option 'Connect' after selecting a device to connect the widget to the device.
-
Tap the
 icon to scan the qr code from the zbos device (legacy devices only).
 -
Tap the button 'Close' or tap the icon to close the connection modal without saving the changes.
|
Tap the option 'Login' in the modal to log in if the user isn’t logged in: 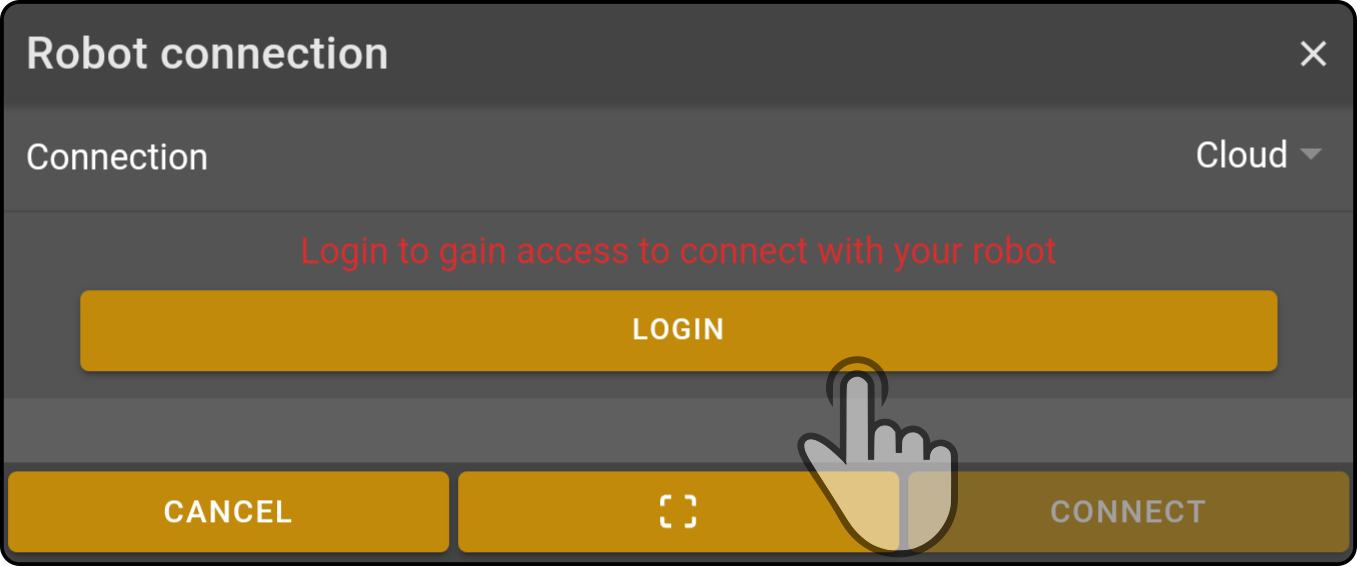
|
Connect widget locally
After selecting the option 'Network' in the 'Connection' setting, the options for the local connection can be entered:
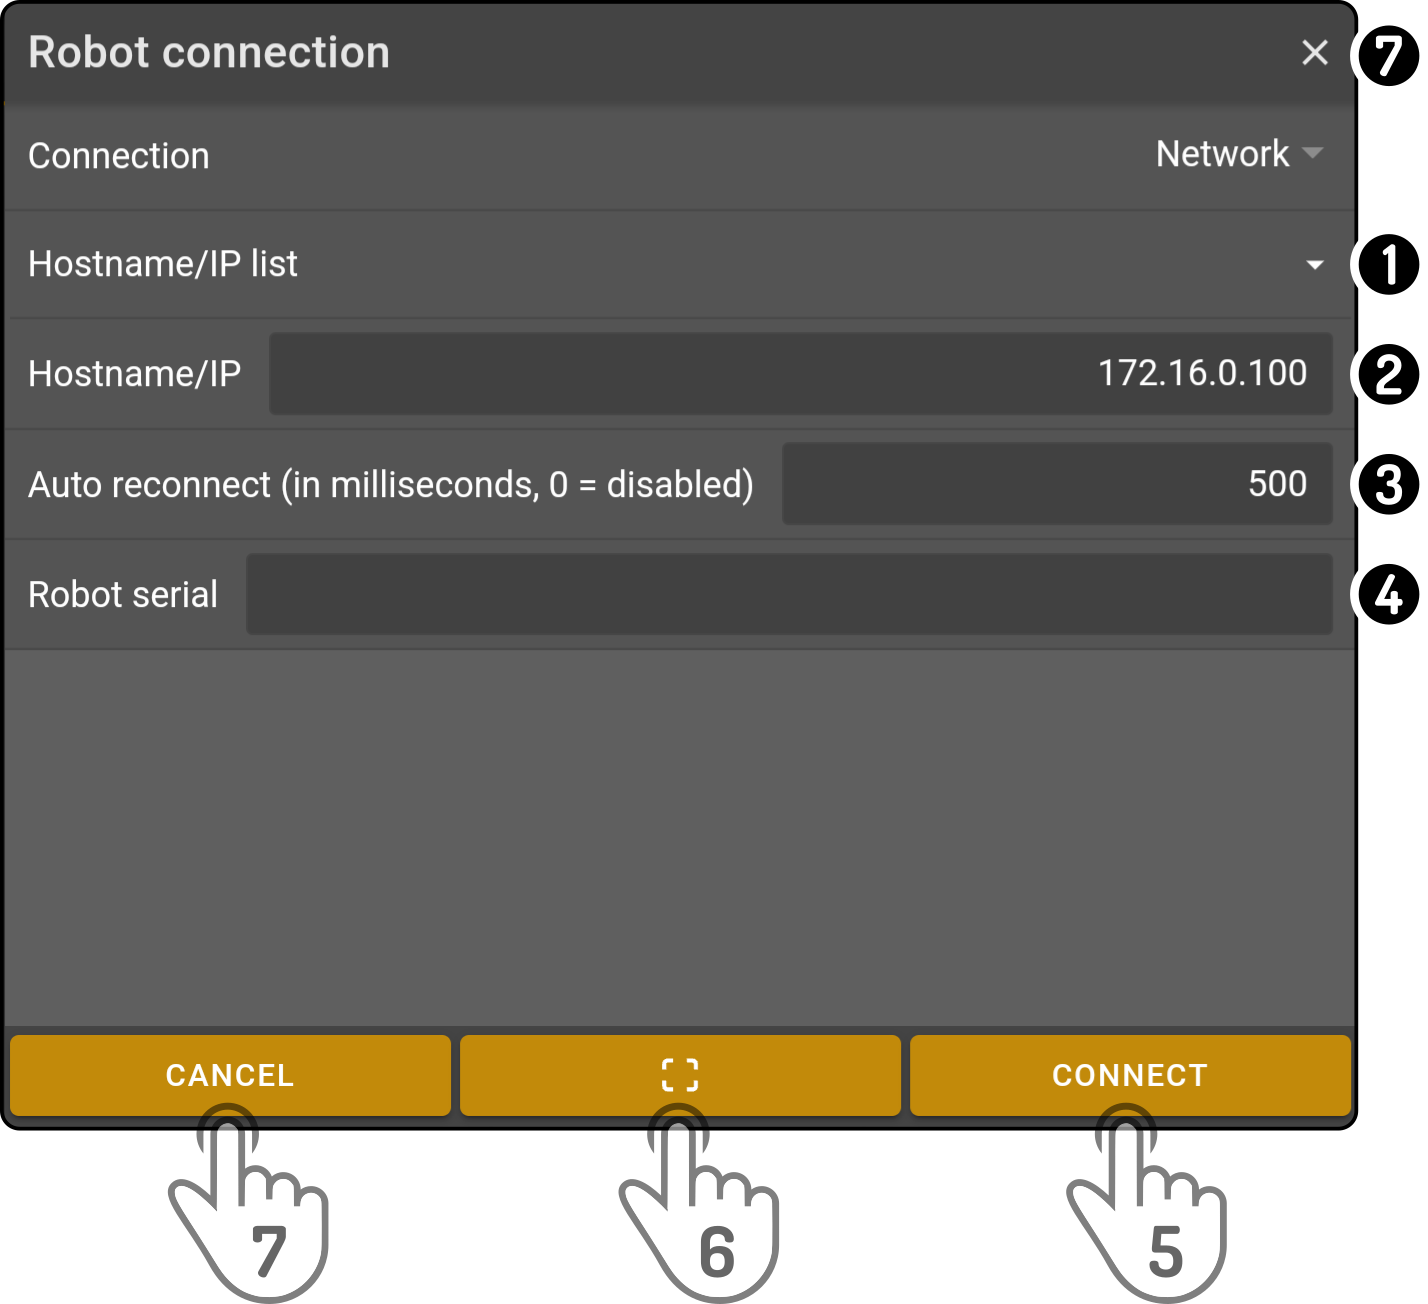
-
Tap the option 'Hostname/IP List' to view a list of IP addresses used by devices registered in the app. Select an IP address from the list to enter it manually. (optional)
-
Enter the IP address of a device on the local network.
-
Set a timeout for the connection to close after the connection is closed (optional).
-
Enter a serial number for a device to scan the network for the device (optional).
-
Tap the option 'Connect' after selecting a device to connect the widget to the device.
-
Tap the
icon to scan the qr code from the zbos device (legacy devices only). -
Tap the button 'Close' or tap the icon to close the connection modal without saving the changes.
Deleting widgets
Open the editor and tap the cross in the top-right corner of the widget to remove it from the dashboard.

List of available widgets
| The widgets shown in this dashboard are also available in the Dashboard for connected devices. |
Differences between normal and multi device widgets
The following additional options are available for multi device widgets:
-
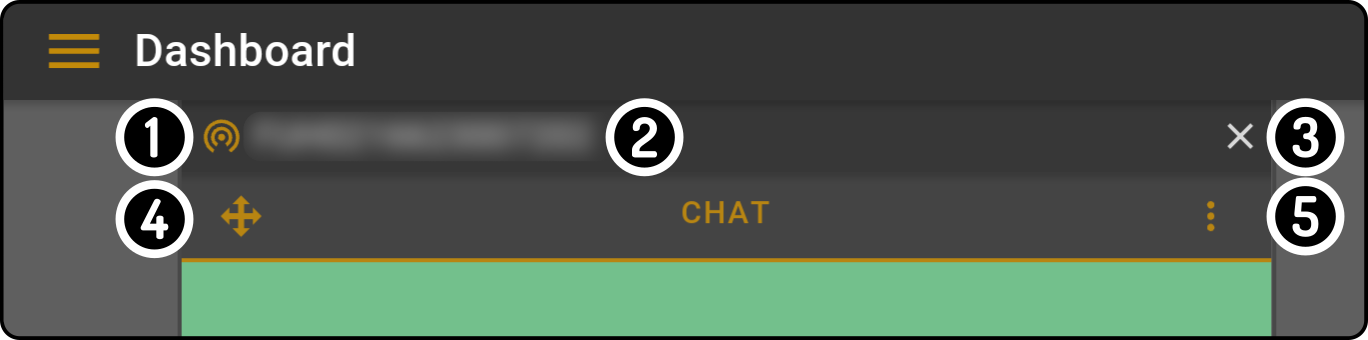
An icon is shown to indicate the widget is connected locally () or via the cloud ().
-
Tap next to the serial number of the connected device to to view or alter the settings for the connected device.
-
Tap the icon to delete the widget from the dashboard entirely.
-
Drag the icon to drag a widget to another location on the grid.
-
Tap the icon to specify where the widget should be shown on the grid.
List of available widgets
The following types of widgets can be added to the multi device dashboard:
| Widget | Explanation |
|---|---|
Chat (all devices) |
This widget sends a message to the device to speak. |
Composition List (all devices) |
This widget shows the composition _stored on the device. |
Interaction List (Cruzr or Zora) |
This widget shows the list of interactions available on the devices. |
Camera Controls (Cruzr or James) |
This widget displays the mini-camera screen, takes a photo or enables the feed from the tablet/smartphone to the devices. |
Movement (partially supported for head-movement) |
This widget displays the movement-controls (in a separate list for head-movement). |
Quick Responses (all devices) |
This widget displays the Quick responses stored in ZBOS Control (not the device) and can execute them on the connected devices. |
Camera (Cruzr or James) |
This widget shows the currently selected video feed from the device. |
Map (Cruzr or James) |
This widget shows the currently selected map. No movement-controls are available for this widget. It can be used to add the current position as a POI to the map. |
Map List (Cruzr or James) |
This widget displays the POIs available on the currently selected map on the connected device. |
Monitoring (all devices) |
This widget displays the monitoring events registered by the connected device. |
| If both head and body movement controls are needed, add 2 movement widgets and select a different movement type in the header of the widget. |