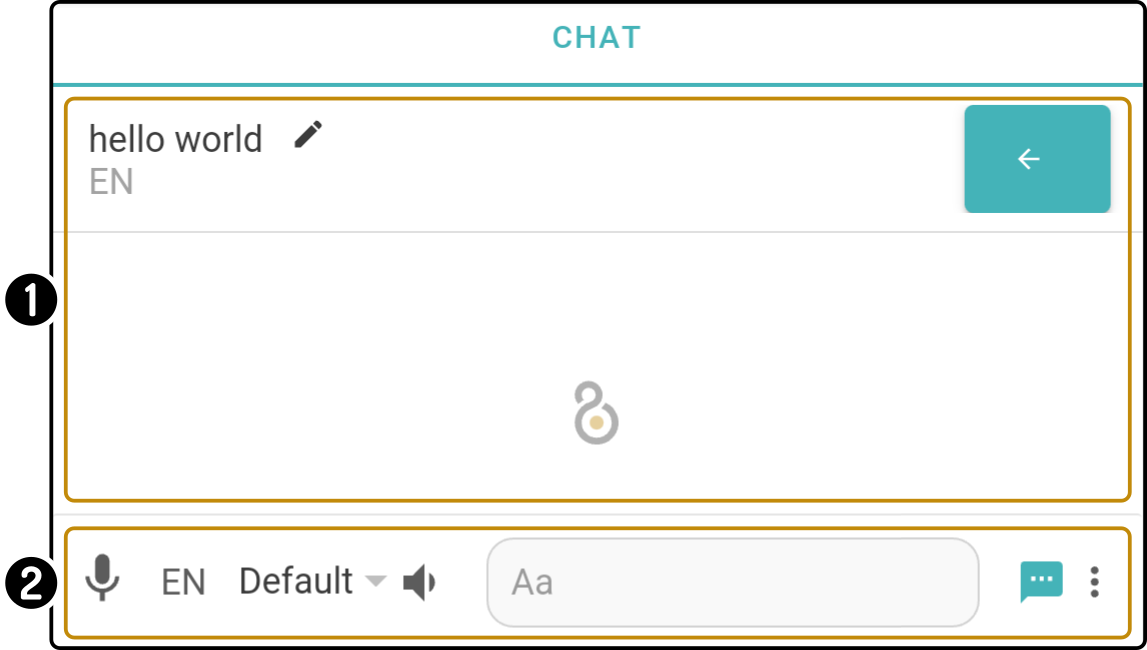
Chat widget
The chat widget can be used to make the device say some text or to make the device respond to a command.
-
A list of the history of sent messages(1).
-
Text and speech options for the new message or command
(1): Commands will not be saved in the chat history.
Overview
| It is highly recommended to set the options for the message before entering the message itself. |
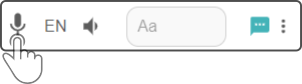
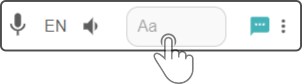
The bar at the bottom displays the options for the message:

-
Tap the icon to use the speech service on the tablet/smartphone to enter the message(1)
-
Set the language of the message
-
Select a voice (2) for the device to say the message
-
Tap the icon to show or hide the options for the message (e.g. volume, speech speed, …)
-
Edit the message or command to send to the device
-
Tap the icon
 or
or  to select whether to send a message or a command (3)
 -
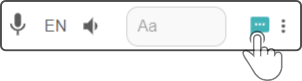
Tap the icon to view and edit the advanced options (e.g. Animated speech)
After creating the message with the required settings, tap the icon to send the message or command to the device.
|
(1): Requires Google Assistant to be installed on Android devices |
Using the installed speech service
| Save this step for last. Set the other options for the message first, especially the language. |
Tap the icon to open an overlay of the voice recognition app:
When the modal is shown, state the message for the device to repeat or the voice command for the device to execute:
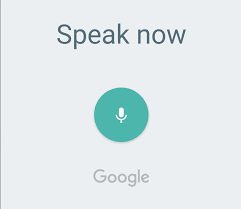
Once the text has been processed by the speech service, the transcribed content will be entered in the message field:

Tap the icon to send the message/command to the device.
| The speech recognition will use the selected language for the message to interpret the speech. Additionally, make sure the requirements for the speech recognition app are met (i.e. access to internet, access to microphone, …). |
|
Set the language for the message
Tap the language field in the message bar to display the language installed on the device:
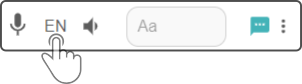
Tap the language for the message and tap the option 'Accept' to apply the changes:
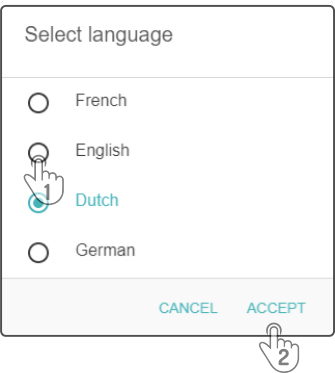
| At least one voice needs to be selected for the language to be shown in the list. |
Set the voice for the message
Tap the voice option next to the language field to display a list of the available voices installed on the connected device:

Tap the voice to be used in the modal and tap the button 'OK' to select the specific voice to be used:
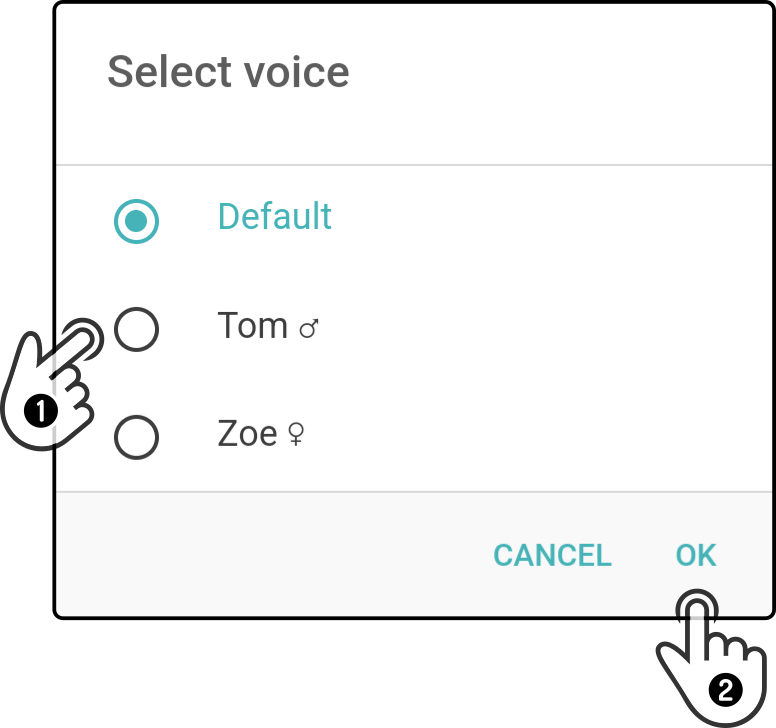
| This option will only be shown if more than one voice for the selected language is installed. |
Setting the options for the speech
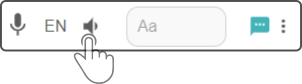
Tap the icon to display the options for the message:
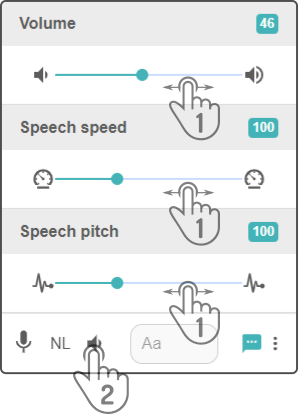
Drag the slider(s) for a setting(1) to change the value and tap the icon (2) again to close the options:
|
Entering the content of the message
| It is highly recommended to set the type of message to send to the device beforehand (i.e. message or command). |
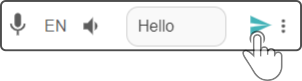
Tap the selected message field at the bottom of the screen to enter a message or command into the text field.
Enter the message or command to send to the device:

Tap the (now available) icon to send the message/command to the device.
|
Alternatively, a speech-to-text service can be used to enter the content of the message. See the chapter Using the speech service for more information.
Changing the type of message
| These options will only be shown if the message field is empty. |
Tap the option ![]() (or
(or ![]() ) to display the available message types:
) to display the available message types:
Select the action for the device to take and tap the option 'Accept' to apply the changes.
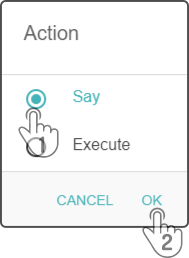
This will change the icon in the message bar to match the type of message sent to the device.
| Type | Icon shown | Explanation |
|---|---|---|
Say |
The device will state the entered message using the entered speech options |
|
Execute |
The device will interpret the sent message as a voice command |
Advanced options
Tap the button to display a list of available animations the device can show.
Animated speech
| Animated speech will only be executed if the connected device supports this option. |
Another option to animate the device while speaking is to enable (or disable) the option 'Animated speech'.
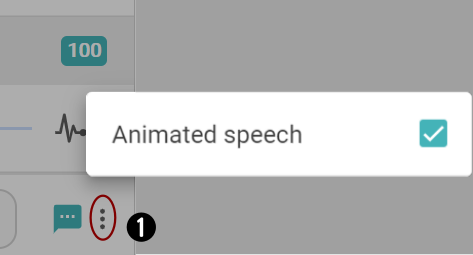
Tap the option 'Animated speech' to enable or disable this option.
Tap outside the shown popup to close the modal.
History of messages
A history of the sent messages (not commands) is available:
-
Tap the message to have the device repeat the message
-
Tap the icon to edit the message
-
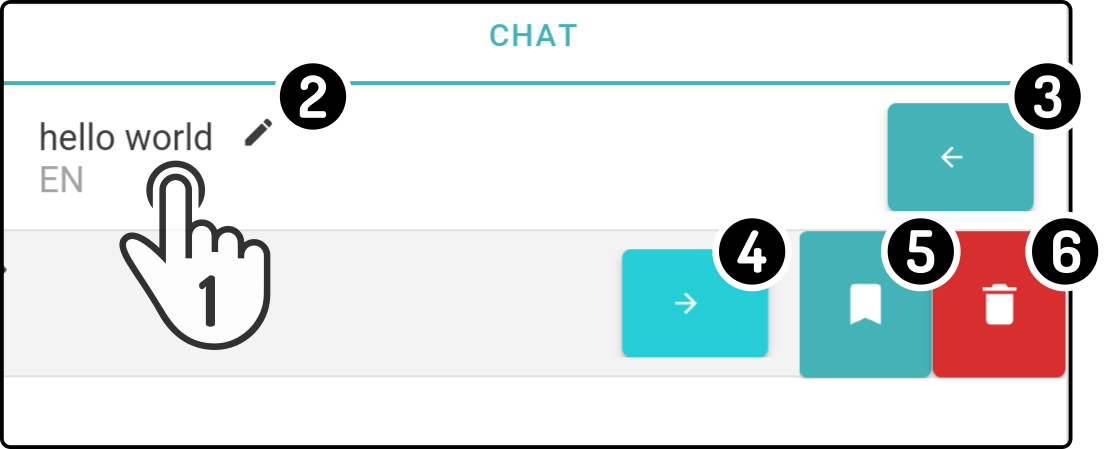
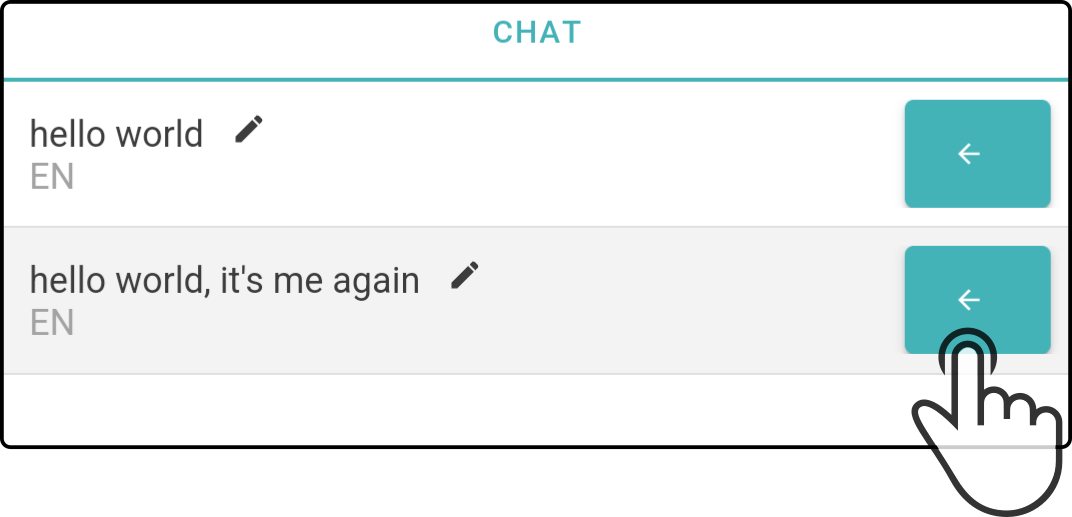
Tap the button to display the options for the message
-
Tap the button to hide the options for the message
-
Tap the button to store the message as a quick response
-
Tap the button to delete the message from the history
Editing a message
Tap the title of the message to edit it:
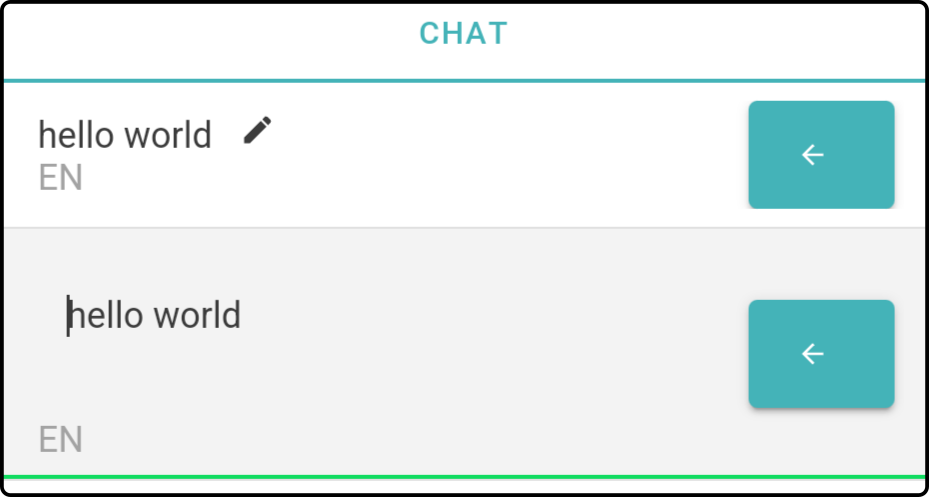
Enter the new content for the message in the screen and tap outside the modal to stop editing.
Send an earlier message to the device
Tap a message in the history to send it to the device again.
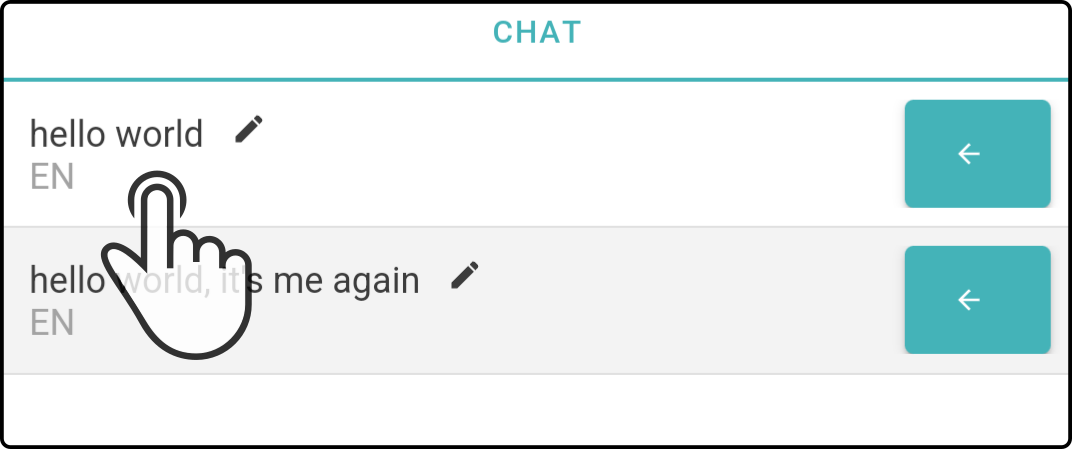
The device will then play it back using the set speech properties (voice pitch, volume, …).
Storing a message as a Quick response
Tap the button (1) to show the message options(2).
Tap the button to save the message as a Quick Response. For more information on the quick response(s), see the chapter Editing the quick response. The details for the message will be entered automatically, and the category 'Default' will be selected by default.
Tap the button 'Save Quick response' to store the message.
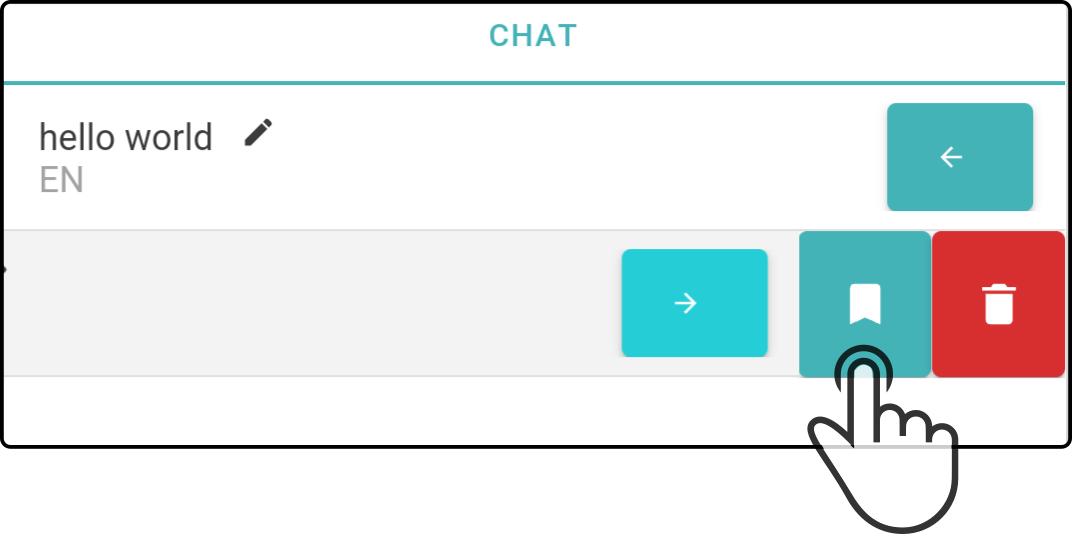
Tap the button (1) to close the message options.
|
(1): Alternatively, swiping left or right can also be used to show or hide the options for the message. |
Delete the message
Tap the button (1) to show the message options(2).
Tap the button to delete the message from the history:
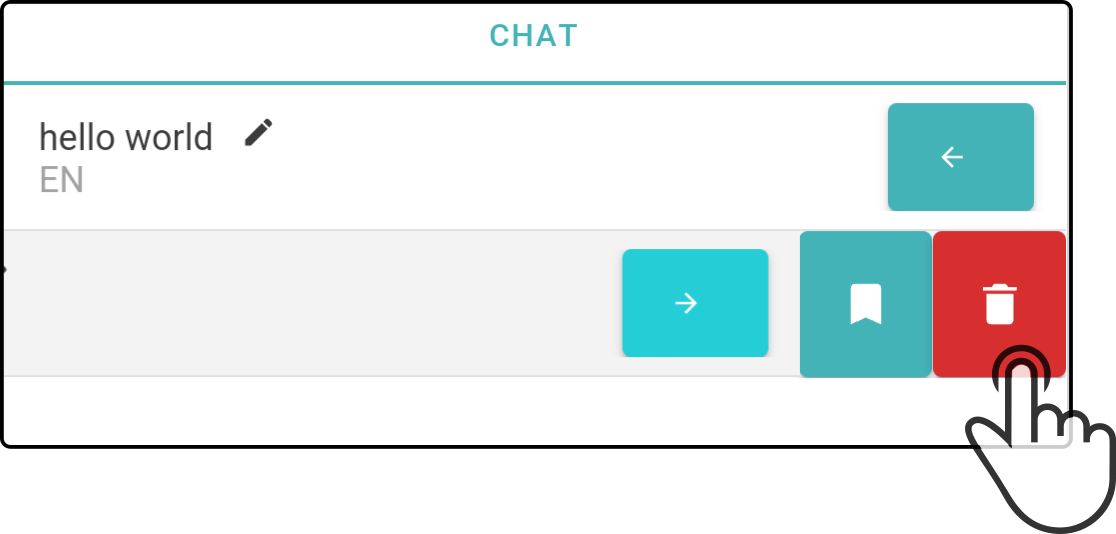
Tap the button (1) to close the message options.
|
(1): Alternatively, swiping left or right can also be used to show or hide the options for the message. |