Walls
| Do NOT zoom in or out of the map when drawing or editing walls. |
Once the blueprint has been created, certain area’s may be off-limits to the device. To provide this functionality, virtual obstructions (walls) can be added to the map.
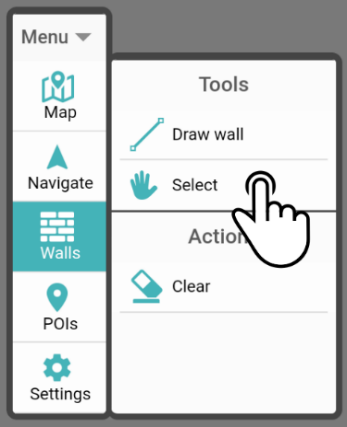
Drawing a new wall
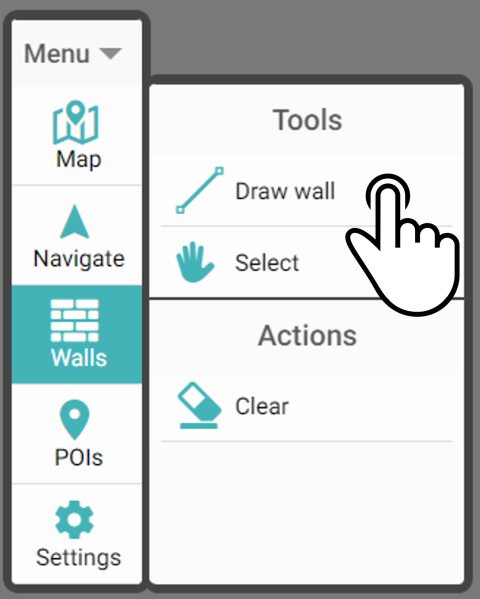
Tap the option Draw wall in the menu Walls to add a new wall to the map.
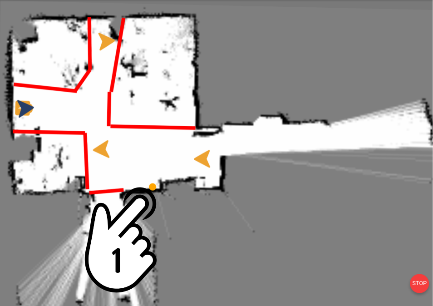
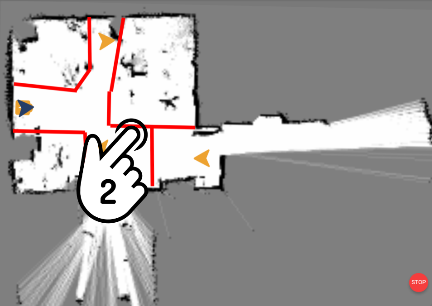
Next, tap a location on the map once to indicate one end of the wall, then tap another to connect the two together to construct the virtual wall.
| Start | End |
|---|---|
|
|
| In case the starting point for the wall was incorrect, an additional option 'Undo' has been added to the menu so the starting position of the wall can be reset. |
Editing a wall
Tap the option Select in the menu Walls to enable the selection of a wall.
Tap on the wall to edit to select it. This will change the display and the options in the Walls-menu. The following operation are available for editing the selected wall:
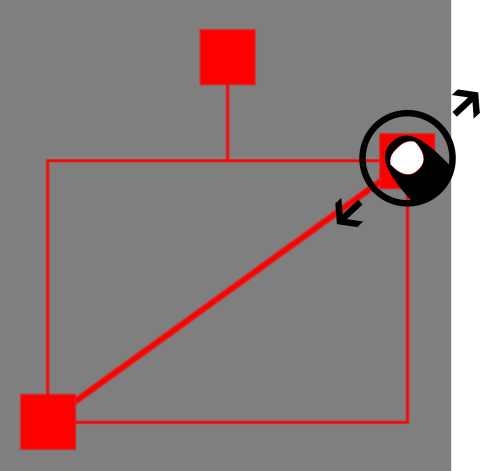
Extending a wall
Drag an outer edge to extend the wall in a straight line.
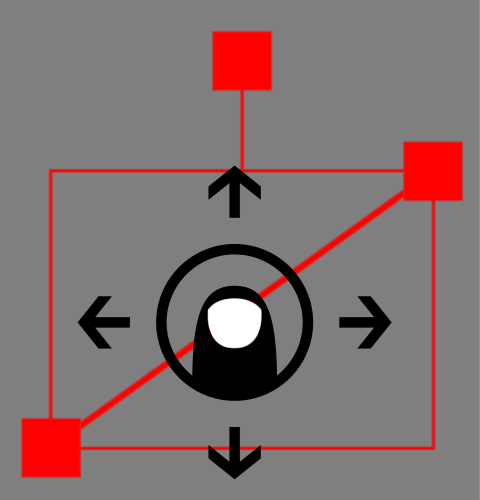
Change the position
Drag the wall on the map to change its location on the map without changing its orientation.
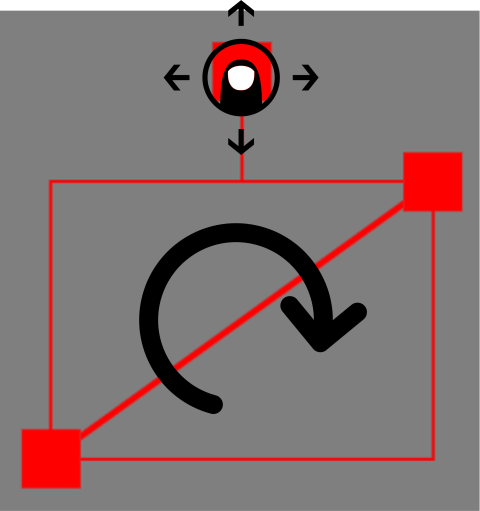
Rotate the wall
Drag the upper icon to rotate the wall (in either direction).
| Tap the option Select again to stop selecting and editing wall-objects. |
Deleting a wall
Like the POIs, there are two main options to remove walls from the map:
-
Remove all walls from the map
-
Remove one wall using the map
Removing all walls from the map
Tap the option Clear in the menu Walls to remove all walls from the current map.
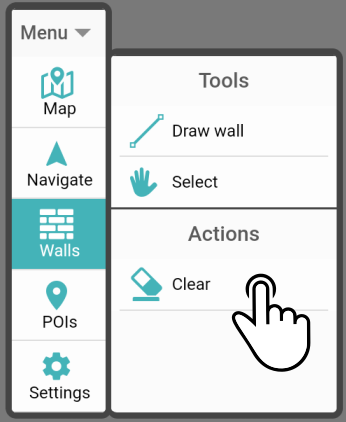
A popup will be shown asking to confirm removing all walls from the map. Tap Yes to remove all walls from the map.

Deleting a single wall
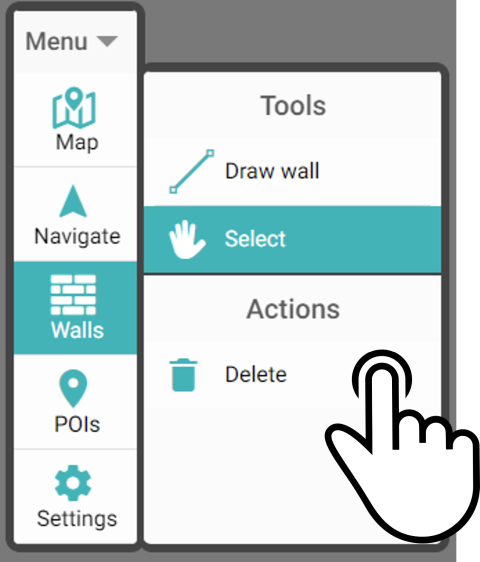
Tap the option Select in the menu Walls to enable the selection of a wall.
Tap on the wall to select it.
Tap the (newly available) option Delete ![]() to remove the wall from the map.
to remove the wall from the map.